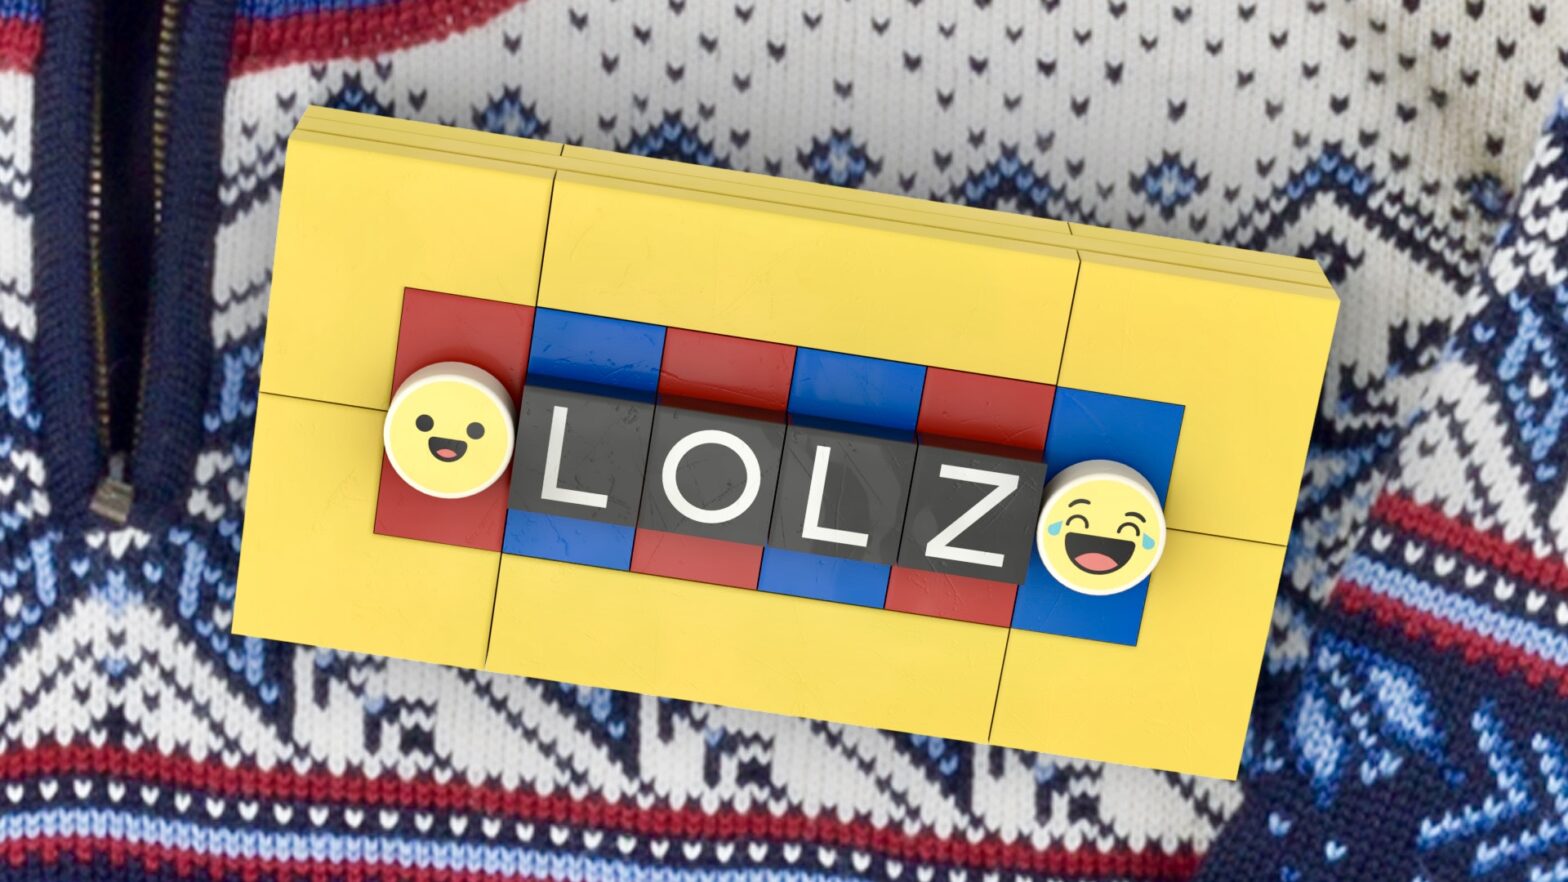
How to use two-part magnetic badges with a handful of Lego elements to create super cute and customisable name badges.
I bought these two-part magnetic badge holders a few months back to stick to my favourite 1×8 bricks. My intention was to wear printed LUG bricks at Lego events, using the magnets to wear them temporarily, but securely, on any clothing I wanted.
My pal Callum
After giving him a magnet at a recent Tartan LUG gathering my pal Callum took it one step further and cleverly created a brick-built frame that encapsulates the badge perfectly.
He used it for displaying his name, but you could add pretty much anything Lego onto it.
The design featured here is my slightly tweaked version of Callum’s original design with step-by-step instructions and a downloadable parts list.
Please check our this talented artist online:
What parts are used?
The adhesive side of the magnetic badges can be mounted perfectly on 2×8, so three 2×2 inverted tiles (11203) make an ideal starting point to build up from.
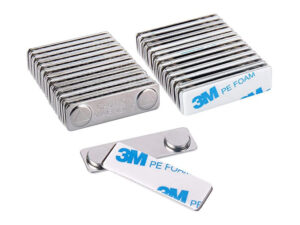
The badges I bought online were £19 for 24 and they measured 1.8 by 0.5 inches. The exact design I bought is no longer in stock on Amazon, but just search for ‘magnetic badge holder’.
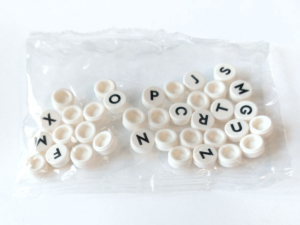
Lego letters
You can get the 1×1 round lettered tiles from two different DOTS sets and the Bricks And Pieces(BAP) service online.
- ‘Creative Designer Box’ (41938) £34.99
- ‘Bag Tags Mega Pack – Messaging’ (41949) £24.99
- ‘White Tile, Round 1 x 1, Alphabet Letters, 36 in Bag’ (77486)
- ‘FLAT TILE 1X1, ROUND, NO. 169’
- ID: 6337918/77486
- £0.96
- Element ID: 6337918
- Design ID: 77486
Amazon Smile
The following URL isn’t an affiliate link for me personally, but if you do use Amazon please consider their AmazonSmile programme where each purchase benefits a chosen charity at no additional cost.
My favourite charity Sight Scotland are part of this programme and it’s very quick and easy to enrol. Over £500 has been raised for them via this charitable programme at the time of publication.
Help Sight Scotland via AmazonSmile
Instructions
Interactive step-by-step instructions with parts list on last slide (step 8).
Parts list
You can download a free XML parts list. The XML file can be imported on sites like BrickLink to create a ‘Wanted List’ and purchase only the Lego elements you require.
There are 13 unique Items in this list (inc. emoji and letter tiles) and it will cost you approximately £2.65 (or £1.43 exc. 1×1 printed tiles).
Alternative parts
If you don’t have one 4×8 plate handy, you can swap it out for two 4×4 or similar without losing too much structural integrity.
And if your name or handle isn’t a handy six letters, I’m sure you can easily increase the width to accommodate more characters.
Make and share
Please share your own homemade LEGO badges with the hashtag #LegoBadge.
Copyright and licence
Header image (LOLZ sweater) and instructions (8 steps) are:
Copyright © Stewart Lamb Cromar 2022. All rights reserved.
Magnets image from seller on Amazon.
DOTS image from LegoSonicBoy on BrickLink.
‘Dale of Norway sweater’ by Menswear Market, CC BY 2.0 via Wikimedia Commons
https://commons.wikimedia.org/wiki/File:Dale_of_Norway_sweater.jpg